Customising Android Emulator
This post is a follow up of “android setup with cmdline”. If you haven’t already read, check it out before continuing on with this one, since you require an emulator first.
Skin Selection⌗
To start off, you will first have to select a skin from all the skins provided here. These skins are open-sourced and free to pick from.
You can also choose an emulator skin provided by Samsung using this link, and follow the procedure stated by them.
Once you’ve selected and downloaded the emulator skin, place it in your “platforms\android-31\skins” directory. When you’re all set, move to the next section.
Locating Config File⌗
To finally add the skin, we’ll have to modify the following parameters of the emulator in its config file:
- hw.lcd.height
- hw.lcd.width
- skin.name
- skin.path
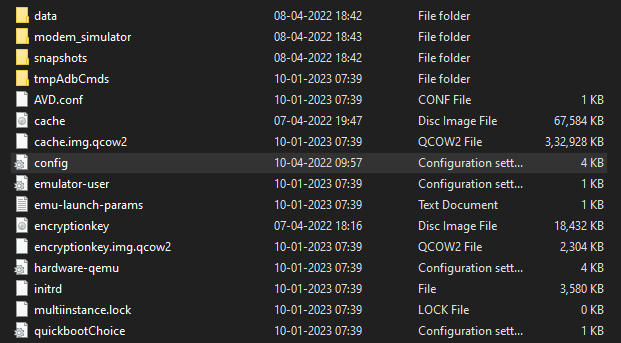
This config file can be found in “.android\avd\Nexus_5X.avd”, and is highlighted in the screenshot below.

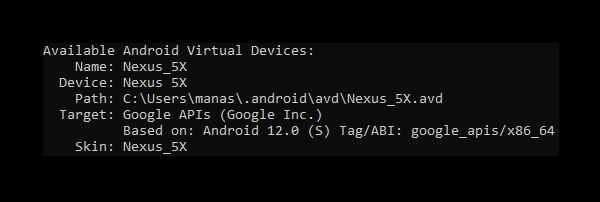
In case you don’t find it there, you can execute
avdmanager list avd
And, it will show you the path where the information about your emulator has been stored.

Editing Config File⌗
After having found the config file of your emulator, its time to modify the above stated parameters.
- hw.lcd.height: Indicates the height your emulator
- hw.lcd.width: Indicates the width your emulator
- skin.name: Indicates the name of the emulator skin
- skin.path: Indicates the path to the directory that contains the emulator skin files specified in skin.name
If you wish to know more about these properties you can check out Microsoft’s official documentation on the following link.
The height, width and name property are wholly governed by the emulator skin you chose.
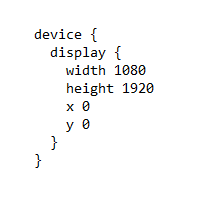
As for the dimensions, you can refer to they layout file, if you chose the skin from the github repository.

Moving on to last property, place skin.path = platforms\android-31\skins\Nexus_5X. So in my case, it looks like:
hw.lcd.height = 1920
hw.lcd.width = 1080
skin.path = platforms\android-31\skins\Nexus_5X
skin.name = Nexus_5X
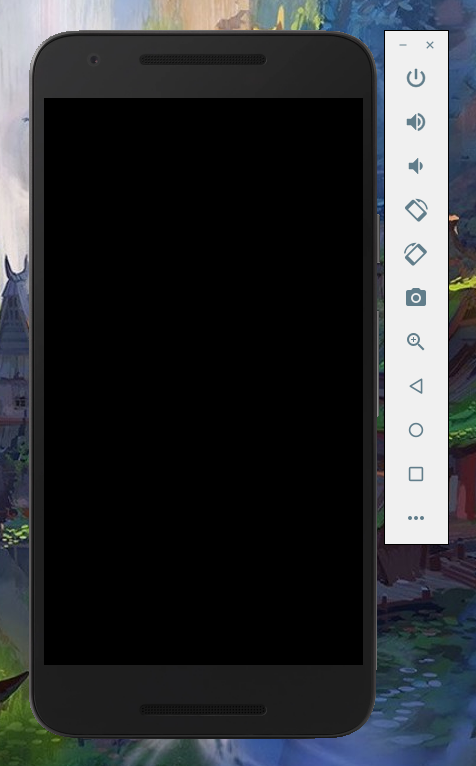
And, now for the moment of truth, launch your emulator using
emulator -avd Nexus_5X -gpu host

If you were able to achieve similar results, Congrats. If not, re-check the previous steps.
Winding Up⌗
That is going to be all for this post. If you found it helpful, do share it among your peers and happy coding.